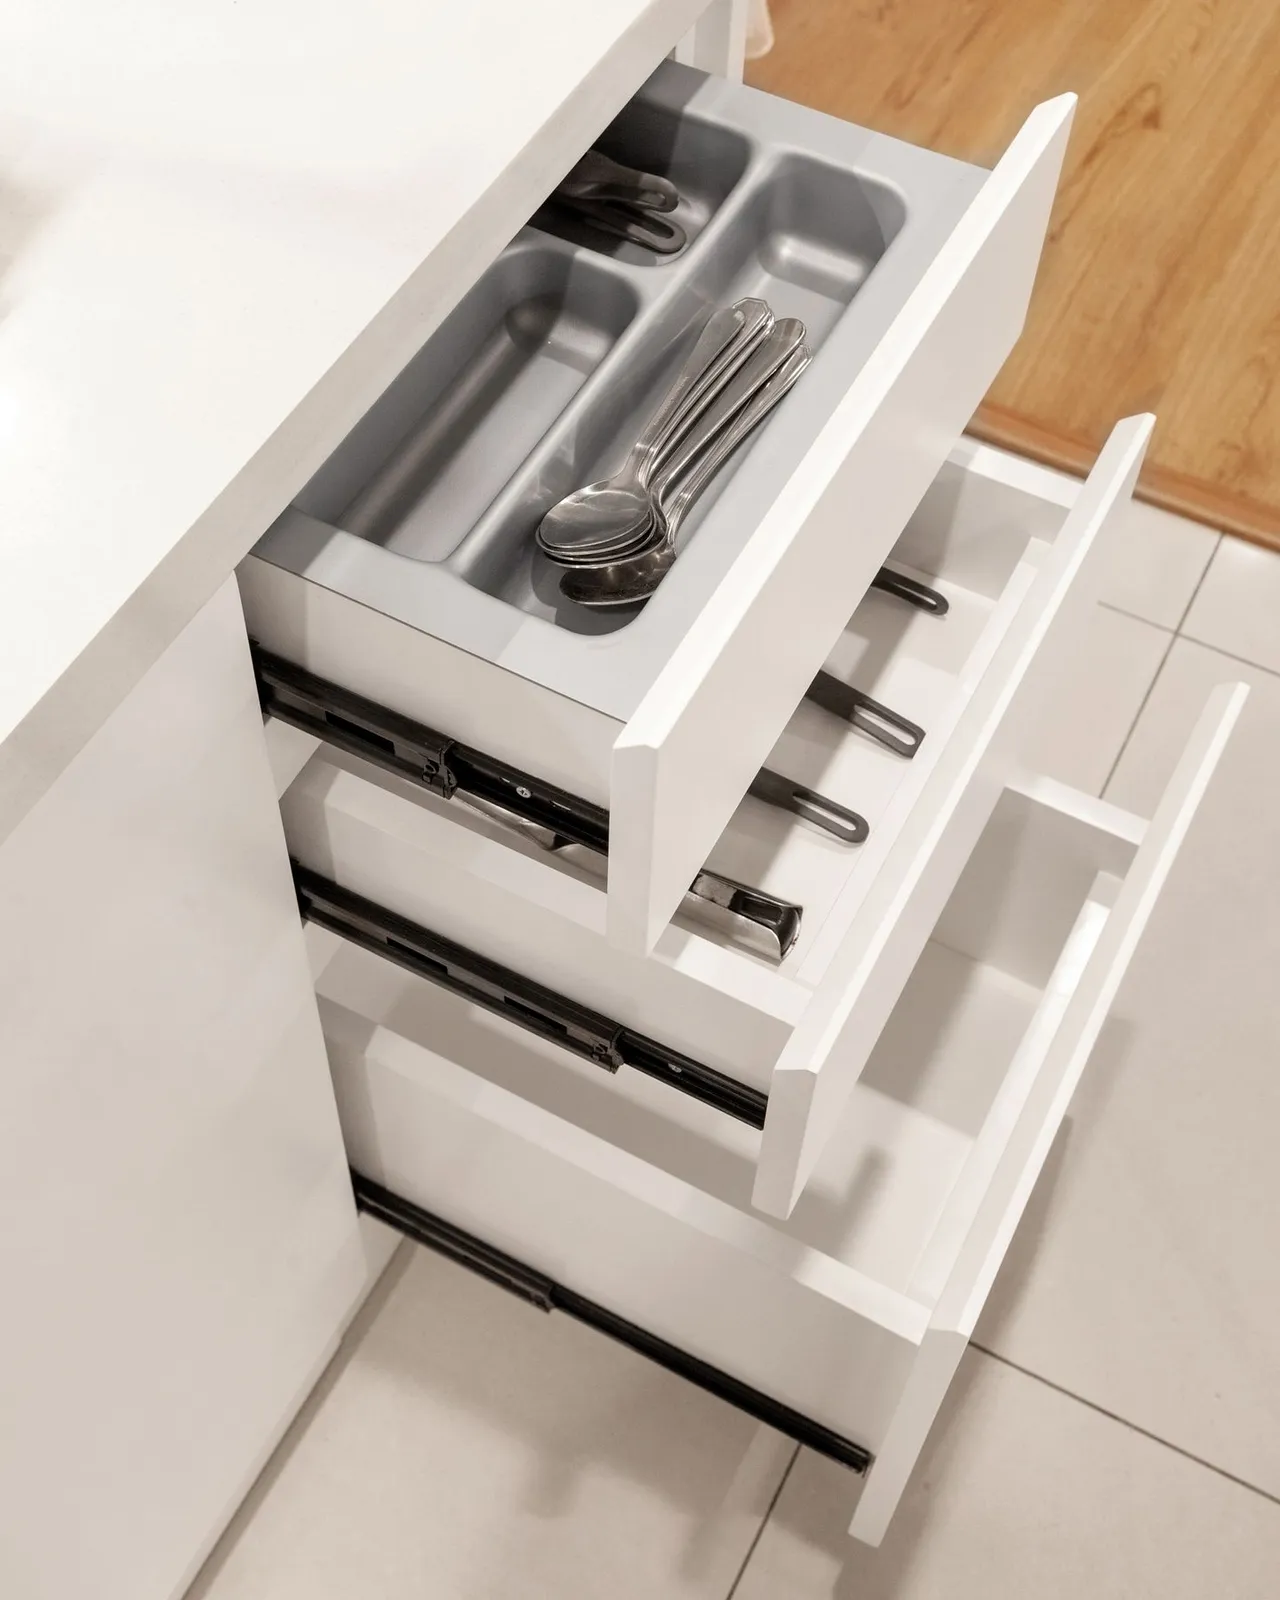
Make cardboard drawer dividers
Make a custom drawer organiser from a cardboard box. Measure the drawer, plan the compartments and cut slots that lock the dividers together.
- Estimated time
- 30 min
- Skill level
- Beginner
Before you start
Empty the drawer and pick the items you actually want to keep there. Dry, corrugated cardboard works for stationery, socks and cables. Try laying the items in groups with a finger-width of space around each one so you can pick them up without lifting the dividers.
Tools and materials
- Stiff cardboard
- Ruler and pencil
- Scissors
- Tape
Step-by-step instructions
Measure the drawer
Measure the inside width and depth. Check how much height you have when the drawer is closed, then make the dividers slightly shorter.
Plan the compartments
Lay out the items you want to store. Mark where one long strip and one or more cross strips should meet.
Cut and slot the strips
Cut one strip to span the drawer front to back and cross strips to span it side to side. Mark each crossing on both pieces. Cut a slot halfway down from the top on one piece and halfway up from the bottom on the other. Test the width on an offcut before cutting the remaining slots.
Fit and adjust
Slide the strips together and place them in the drawer. Trim any tight edges, tape joints that wobble and check the drawer closes freely before filling it.
Check the result
Fit the grid in the empty drawer, close it slowly and pull it out again. If a divider catches, trim the top edge evenly. Put the tallest item in first and check that everything stays in its own compartment after a few opens and closes.
Troubleshooting
Test a slot on a scrap of the same cardboard before cutting all the strips. It should slide over the cardboard with light pressure.