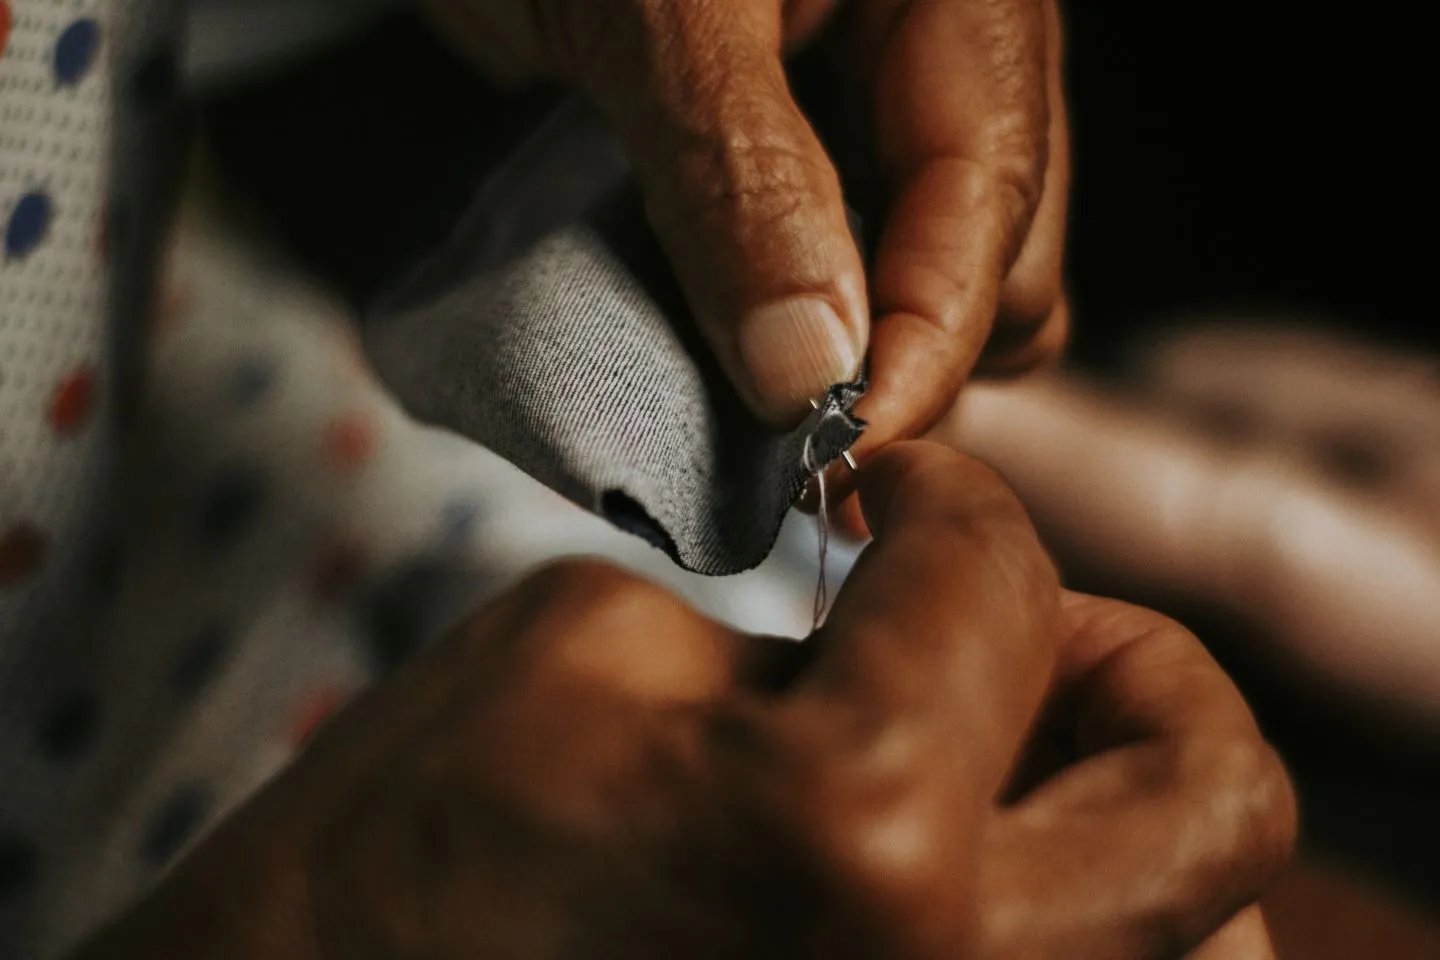
Sew a four-hole button back onto a shirt
Hand-sew a four-hole shirt button with matching stitches and a small thread shank. Find the right position and check that the buttonhole still fits.
- Estimated time
- 15 min
- Skill level
- Beginner
Before you start
Compare the spare button with the others for diameter, thickness and hole layout. It should pass through the buttonhole without stretching it. Match the old stitch colour and pattern, and practise threading and knotting the needle on a scrap if this is your first sewing repair.
Tools and materials
- Matching four-hole button
- Needle
- Thread
- Scissors
- Toothpick
Step-by-step instructions
Mark the spot
Line up the buttonhole with the old stitch marks and place the button over that point.
Anchor the thread
Thread the needle, knot the ends and take a small stitch through the fabric at the mark to anchor it. Bring the needle up from the back and through the first hole. Leave the button resting on the fabric while you position the toothpick.
Build the stitches
Lay the toothpick across the button so the stitches pass over it. Sew through each pair of holes several times. Copy the parallel or crossed pattern on the neighbouring buttons. Keep the threads snug over the toothpick without bending it.
Finish underneath
Remove the toothpick. Wrap the thread around the stitches under the button a few times, pass the needle to the back and knot securely. Test the button in its hole.
Check the result
Fasten and unfasten the button a few times with the shirt flat. The stitches should hold without drawing the fabric into a pucker, and the small thread shank should leave room for the other layer of cloth under the button.
Troubleshooting
If the fabric has torn around the old stitches, mend the hole before attaching the button.