Build a wooden monitor riser
Build a wooden monitor riser with a keyboard opening and a rear brace. Size the platform to your monitor, work from a cut list and test it under load.
- Estimated time
- 2–3 hours + curing time
- Skill level
- Advanced
Before you start
Measure the monitor’s stand and note its weight. Decide on the height while sitting normally at the desk, and check that the cables will reach without bending sharply. Use flat stock that can support the load across the planned span. Clamp work to a stable bench when sawing or drilling and follow the tool manual for eye protection and dust control.
Tools and materials
- Flat timber or plywood
- Tape measure, pencil and square
- Saw, clamps and eye protection
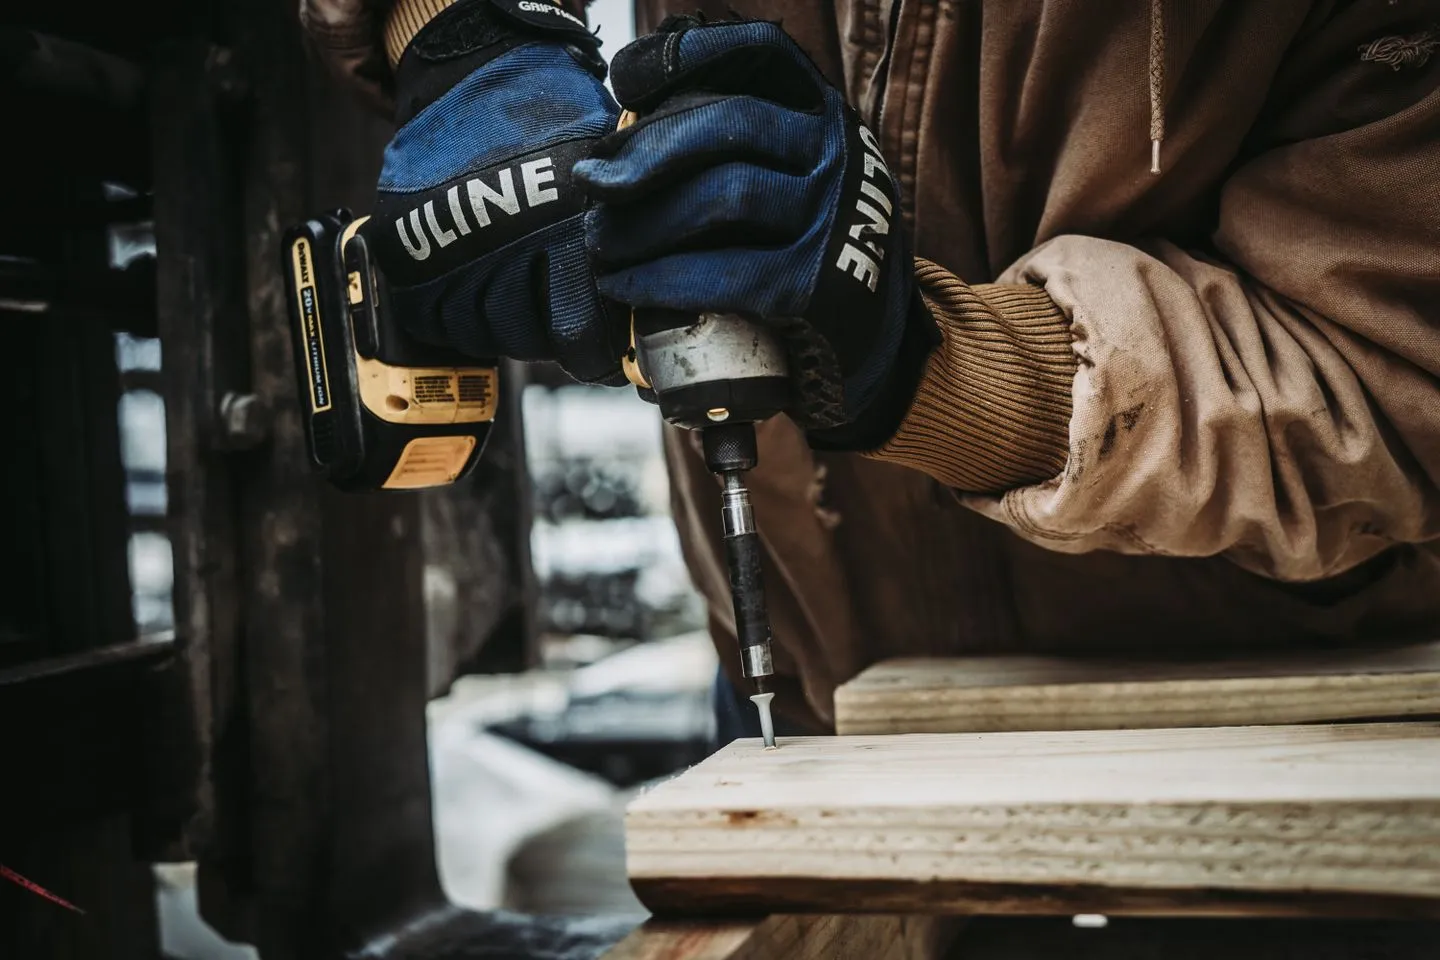
- Drill, wood screws and wood glue
- Sandpaper and scrap backing wood
Step-by-step instructions
Measure the stand and keyboard
Measure the full footprint of the monitor base. Mark the width and depth on paper to check its fit on the desk. The opening between the end panels must clear the keyboard and your fingers. Leave room behind the platform for the connector plugs.
Make a cut list
For example, a 500 × 240 mm top with two 90 × 240 mm ends made from 18 mm stock gives a 464 mm clear opening if the ends sit flush under the top. Cut the rear brace to fit that opening after a dry fit. Adjust these dimensions to suit your equipment.
Join the frame and fit the brace
Dry-fit the end panels under the top and mark their centre lines. Clamp them square, drill pilot holes and glue and screw the joints. Use fixings suited to the stock and keep them clear of exposed faces. Set the brace near the back between the panels, leaving the keyboard opening clear.
Check the frame for twist
Set the riser on a flat bench before the glue sets. Press opposite corners lightly and compare the end panels with a square. Correct any movement or twist while the joints can still be adjusted.
Test before use
Let the glue cure, sand sharp edges and check for rocking or flex with a stable test load before placing the monitor.
Check the result
Let the glue cure fully and test the riser on the desk with a stable load similar to the monitor’s weight. The feet should sit flat, the top should stay level and the brace should prevent sideways movement. Centre the monitor base with clearance on every side once the riser passes those checks.
Troubleshooting
If the top flexes under load, shorten the span or use thicker stock before putting equipment on it.