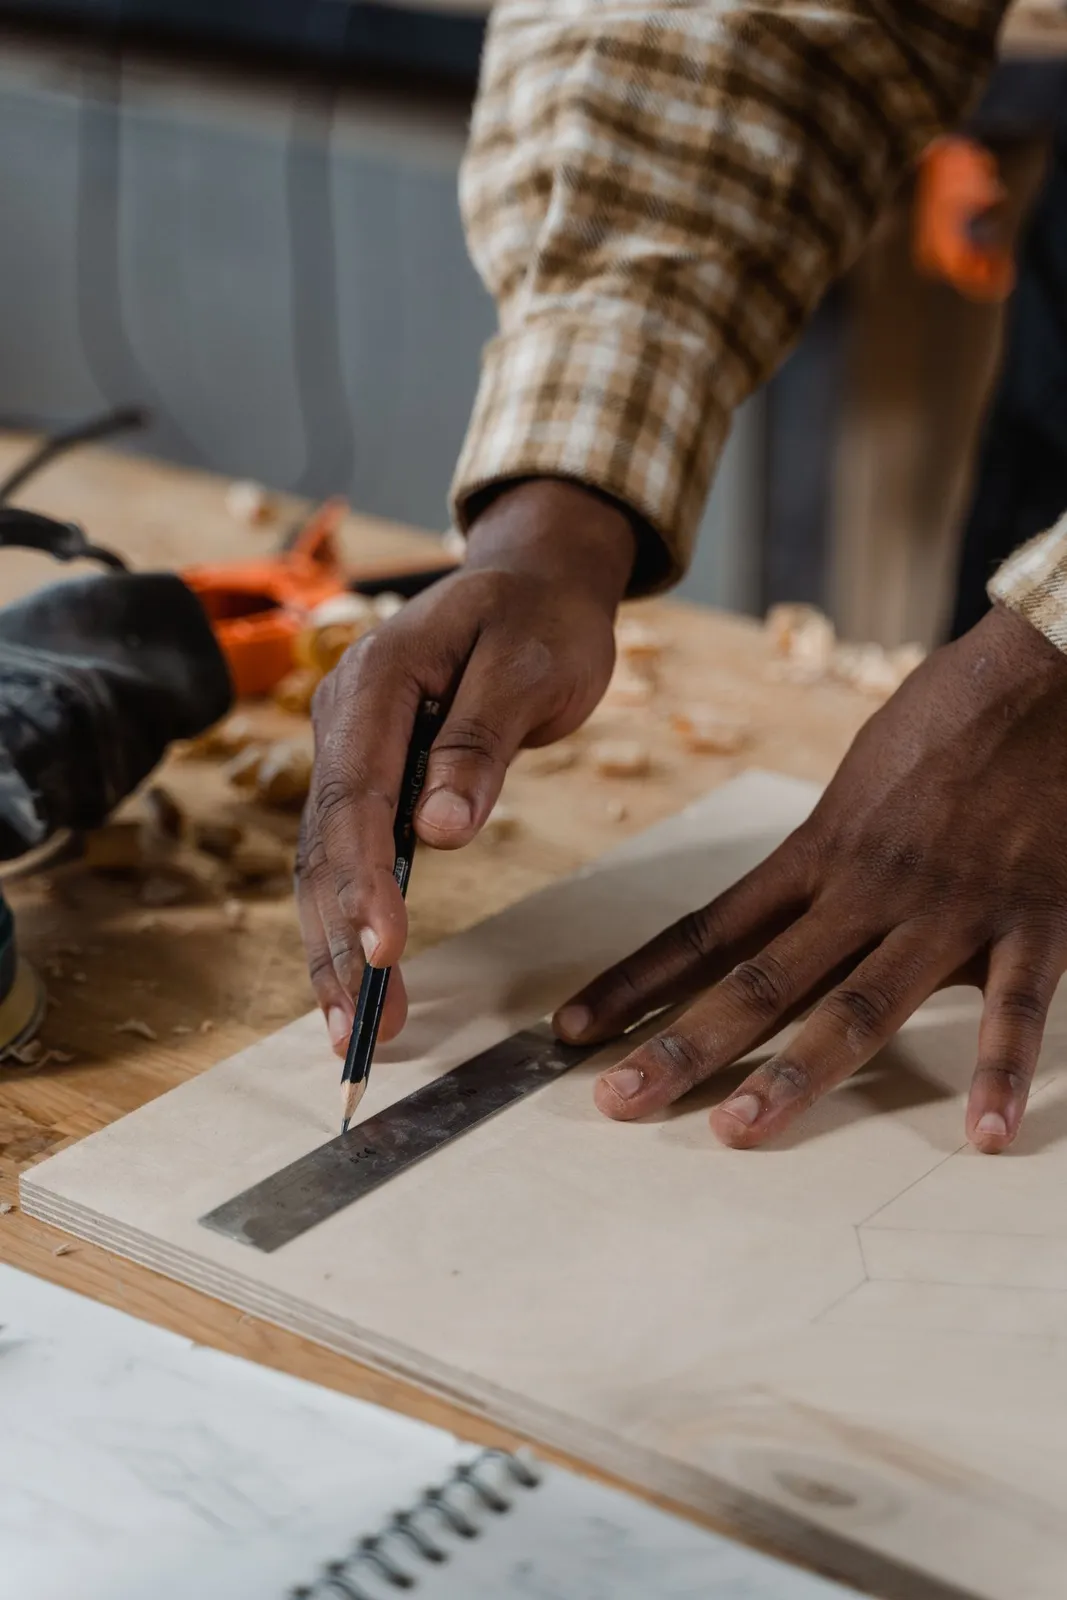
Build a freestanding desktop pegboard organiser
Make a freestanding pegboard organiser for a desk. Build in rear clearance for hooks, brace the feet and test it with lightweight items.
- Estimated time
- 3 hours
- Skill level
- Advanced
Before you start
Choose a small pegboard and compatible hooks. Test one hook before making the frame to see how much space it needs behind the board. Sketch the board, the desk footprint and two wide feet. Keep the board low enough to stay steady when you remove items with one hand.
Tools and materials
- Small pegboard and compatible hooks
- Timber for the frame, feet and braces
- Tape measure, pencil and square
- Saw, drill, screws, clamps and eye protection
Step-by-step instructions
Draw the frame around the usable holes
Clip a hook into the board and measure the distance it projects at the back. Plan a frame that gives it that clearance, especially near the crosspieces. Mark the area where hooks can go after assembly.
Assemble the frame square
Cut the two uprights and crosspieces, then clamp the frame and compare its diagonals. Fasten the board at the suitable mounting points with fixings that will not project from the back.
Fit wide feet and braces
Fit a foot at each end with support in front of and behind the board. Brace both uprights to the feet and check that the feet touch the desk evenly.
Test one row of hooks
Fit a row of hooks before loading the board. Make sure they can tilt into the holes and lock in place without meeting a brace. Move any hook that cannot seat fully.
Load and test
Fit compatible hooks and place lightweight items low and near the centre. Remove items one at a time to check the board stays stable.
Check the result
With the board on a flat desk, hang your lightest items first. Lift them on and off in the direction you will use every day. The board should stay upright and each hook should seat without hitting the frame. Reposition heavy or frequently used items lower and closer to the centre.
Troubleshooting
If the board moves when you lift an item off, widen or brace the feet before use.