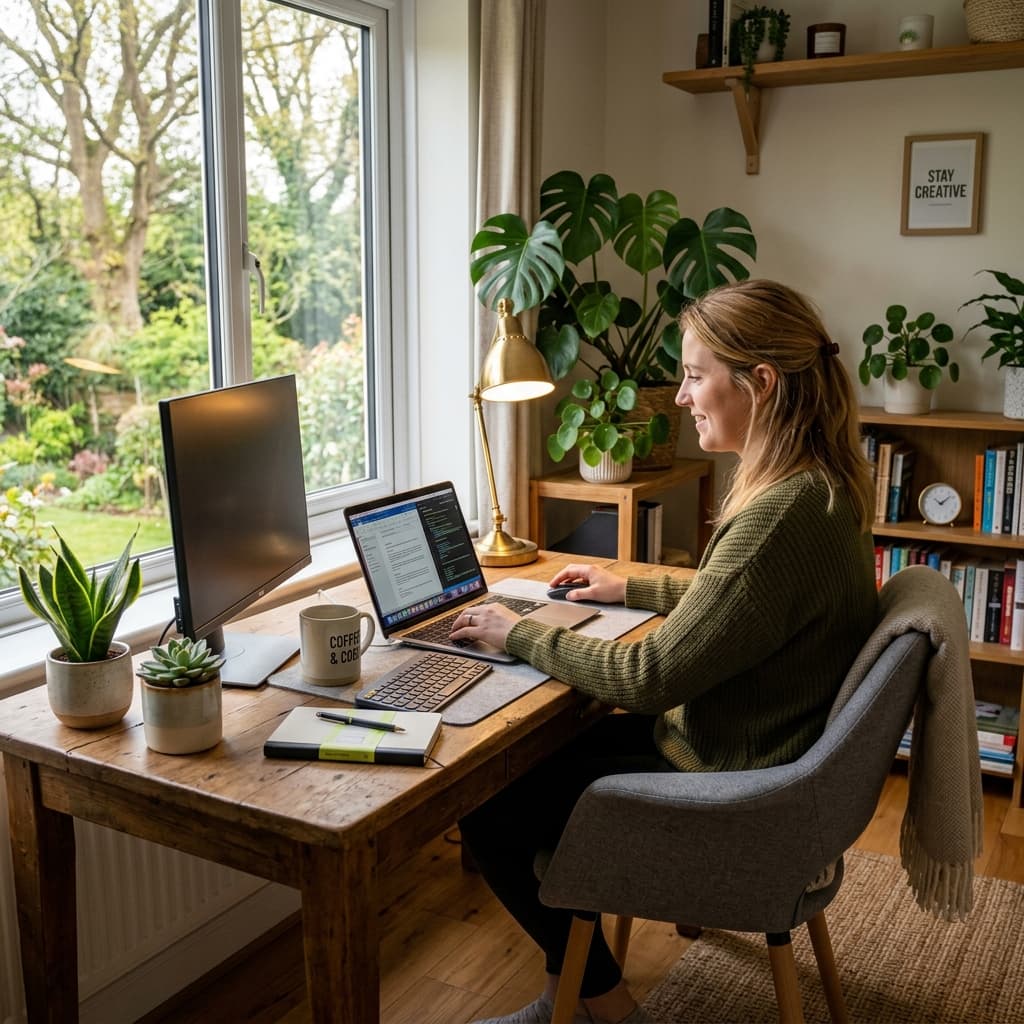
Learn basic photo editing
Learn to crop, adjust exposure, and color-correct your photos with free editing tools.
- Time:
- 60 min
- Cost:
- free
- Difficulty:
- easy
- Where:
- Indoors
- Best:
- Solo
Basic photo editing has an unusually good effort-to-result ratio, because roughly five adjustments account for nearly all the visible improvement. Exposure, contrast, white balance, crop, and one selective adjustment. Learning those five on your own photos takes an hour and permanently changes how your pictures look.
Why learn basic photo editing is worth an hour
Cameras make deliberate compromises when they process an image, particularly in tricky light, and those compromises are exactly what the basic sliders reverse. Editing your own photos also teaches you to see what was wrong at capture time, which gradually improves the photographs themselves. The editing skill quietly becomes a shooting skill.
How to learn basic photo editing step by step
- 1
Pick a mediocre photo you like
Good subject, poor execution. Editing an already excellent image teaches you very little about what the controls do.
- 2
Fix exposure and contrast first
Brightness overall, then the separation between light and dark. These two do more than everything else combined.
- 3
Correct the white balance
Push the temperature warmer or cooler until the whites look white. Color casts are the most common invisible problem.
- 4
Crop for the subject
Remove everything that is not helping. Cropping is the most underused adjustment and costs nothing but decisiveness.
- 5
Make one selective adjustment
Brighten a face, darken a distracting corner. Local edits are what separate an edited photo from a filtered one.
Tips to get more out of it
- Always edit a copy or work non-destructively. Overwriting an original is a mistake you make exactly once.
- Compare against the unedited version regularly. Editing drifts, and heavy edits look normal after twenty minutes of staring.
- Free tools handle all of this. Paid software adds convenience and speed, not fundamentally better results.
Ways to mix it up
If you shoot in RAW, spend the hour on what RAW recovers that JPEG cannot, particularly in blown highlights and shadows. If you mostly post to phones, edit on a phone with a calibrated eye for small screens, since detail that reads well on a monitor often disappears entirely.
Learn basic photo editing: frequently asked questions
What is the best free photo editing software?
Several free options handle exposure, color and cropping perfectly well. The specific tool matters far less than understanding what each slider does.
Should I shoot RAW or JPEG?
RAW if you plan to edit, since it retains far more recoverable detail. JPEG is fine when you want images straight out of the camera.
How do I avoid over-editing?
Compare to the original often, and step away for ten minutes before finalising. Extreme edits normalize quickly while you are working.
Related activities
Skills
Learn basic graphic design principles
Get a feel for contrast, alignment, and hierarchy so everything you make looks more polished.
Learning
Learn basic photography composition
Photography composition is how you arrange a subject and the surrounding space in the frame.
Skills
Learn basic video editing
Learn cuts, transitions, and titles with a free editor and a few clips from your phone.