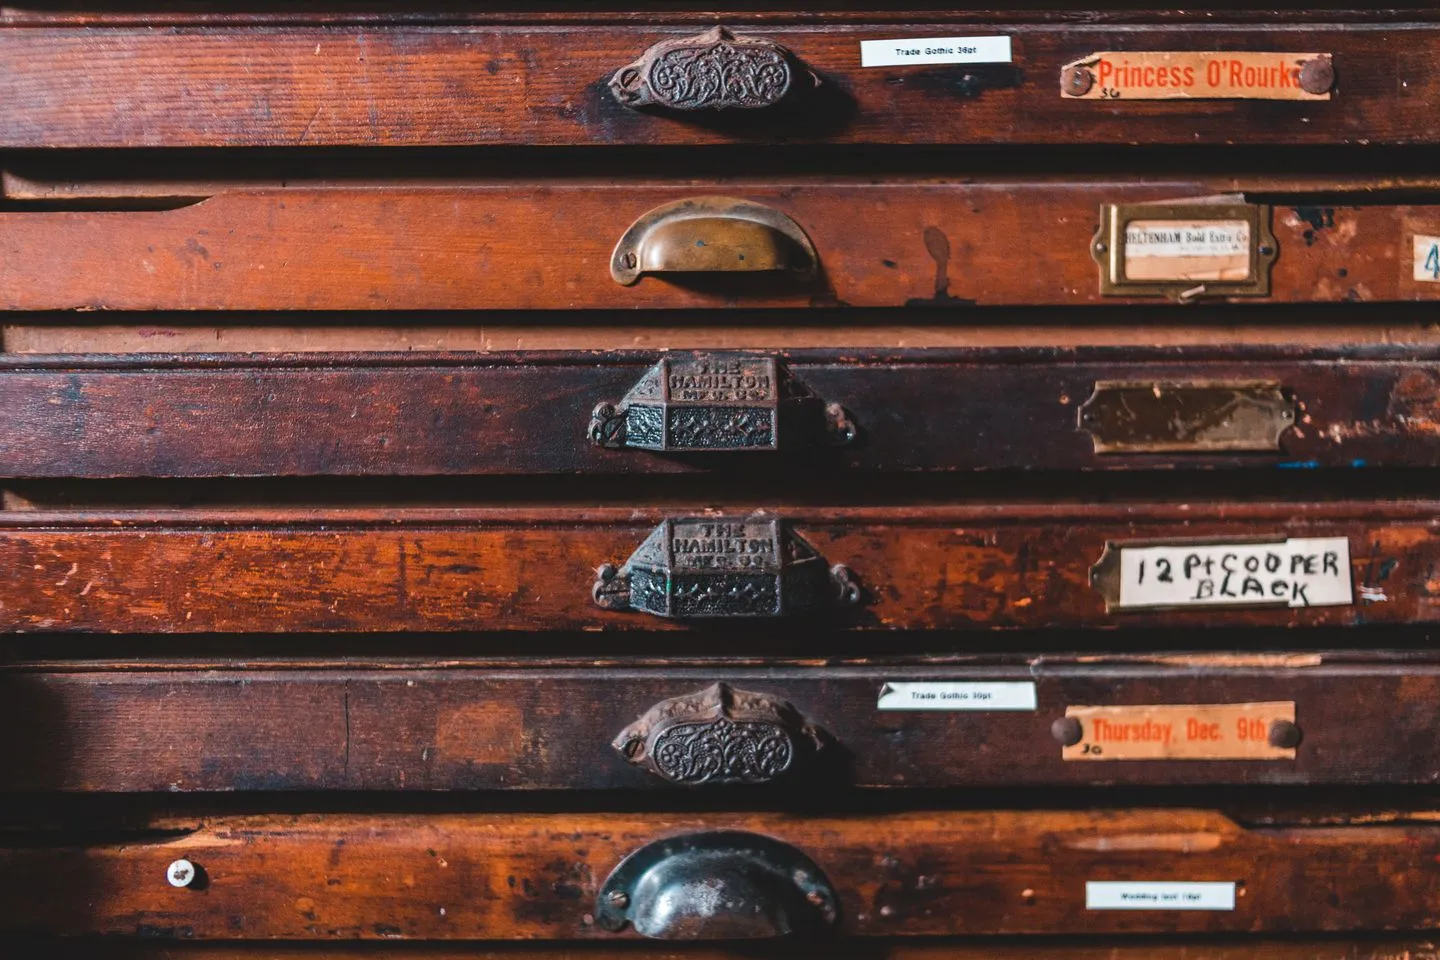
Replace a sagging wooden drawer bottom
Replace a sagging drawer bottom that slides into grooves. Match panel thickness, measure the grooves and test the drawer before reloading it.
- Estimated time
- 2–3 hours
- Skill level
- Advanced
Before you start
Remove the drawer and check how the bottom is held. This method is for a panel that slides out of grooves once a rear strip or fixing is removed. Check that the sides are square and the grooves are intact. Keep the old bottom to compare thickness and size.
Tools and materials
- Replacement panel matching the original thickness
- Screwdriver
- Saw and square
- Tape measure and sandpaper
Step-by-step instructions
Inspect the assembly
Remove the empty drawer and identify how the bottom slides out. Photograph the joints and check that the frame and grooves are sound.
Measure the panel and grooves
Slide out the old panel and measure its thickness at a flat edge. Measure the distance between the bottoms of opposite grooves and compare with the old panel. Allow enough clearance to slide it into place while keeping it engaged in both sides.
Cut and check the fit
Mark square lines on replacement stock that fits the original grooves. Cut and smooth the edges. Test a small offcut in the groove first, then slide the whole panel in with the drawer on a flat bench. If it binds, check that the panel is square and clear of debris before trimming.
Reassemble and test
Reinstall the rear fixing, check the drawer diagonals and refit it. Test with a few light items before returning the usual contents.
Check the result
After refitting the drawer, look underneath to confirm the panel is fully engaged along each groove. Run it empty first, then add the contents a few items at a time. Check that the bottom does not bow and that the drawer clears the one below.
Troubleshooting
If the grooves have split or the joints move, repair the drawer frame before replacing the bottom.