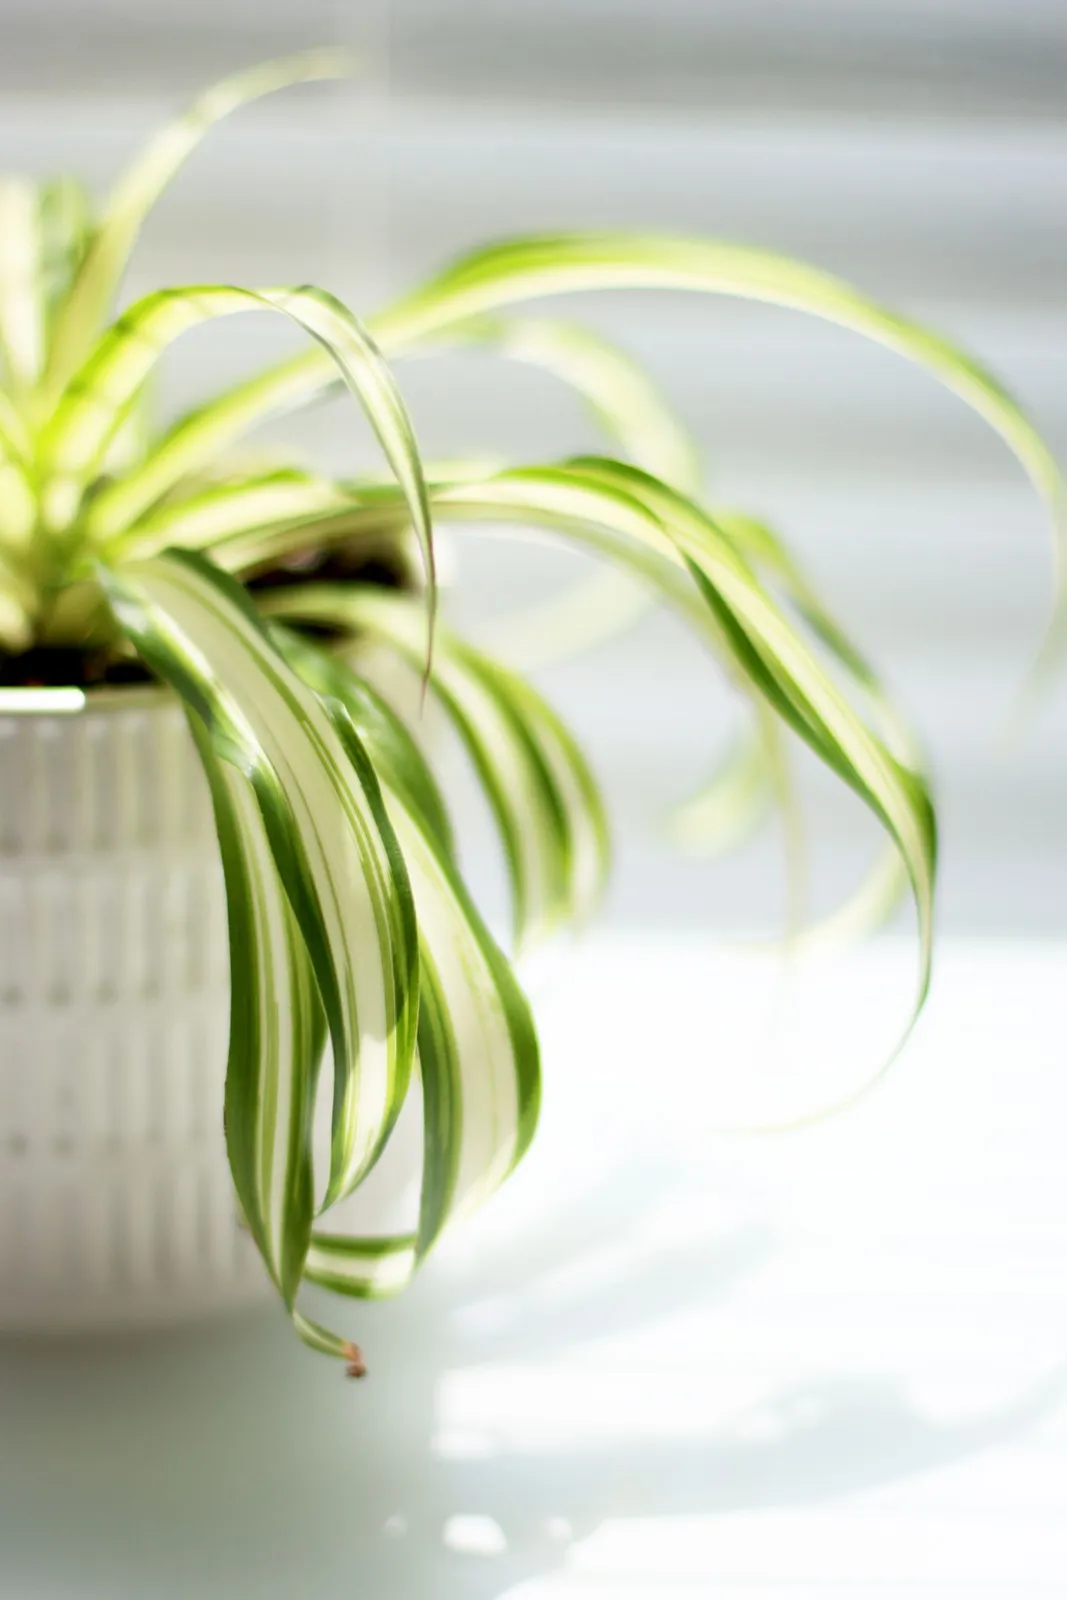
Propagate a spider plant pup in soil
Propagate a spider plant pup in soil while it is attached to the parent. Set up a second pot, hold the pup in place and check when it has rooted.
- Estimated time
- 15 min + rooting time
- Skill level
- Beginner
Before you start
Choose a plantlet on a long enough stem to reach a second pot beside the parent. Set the pots at a similar height so the connecting stem lies relaxed. Look for small bumps or roots under the plantlet and use a small pot so you can judge when its compost is drying.
Tools and materials
- Spider plant with a pup
- Small pot with drainage holes
- Potting mix
- Bent wire pin if needed
- Clean scissors
Step-by-step instructions
Pick a pup
Choose a baby plant with small root bumps on the underside and a stem long enough to reach a nearby pot.
Pin the plantlet to the soil
Fill the pot with damp mix. Rest the root bumps on the surface with the leaves above the mix. If the plantlet springs up, use a bent wire pin over the connecting stem to hold it gently in place.
Let it root
Keep the pots in bright, indirect light. Check the mix regularly and water when the surface begins to dry.
Separate it
Once the pup has put on new growth and resists a gentle tug, snip the connecting stem with clean scissors.
Check the result
After separating the rooted plantlet, leave it in bright, indirect light and check the compost for moisture. Look for an upright centre and new leaves over the following weeks. Give it time to fill its small pot before moving it to a larger one.
Troubleshooting
If the pup moves freely when tested, leave it attached and give it longer to root.