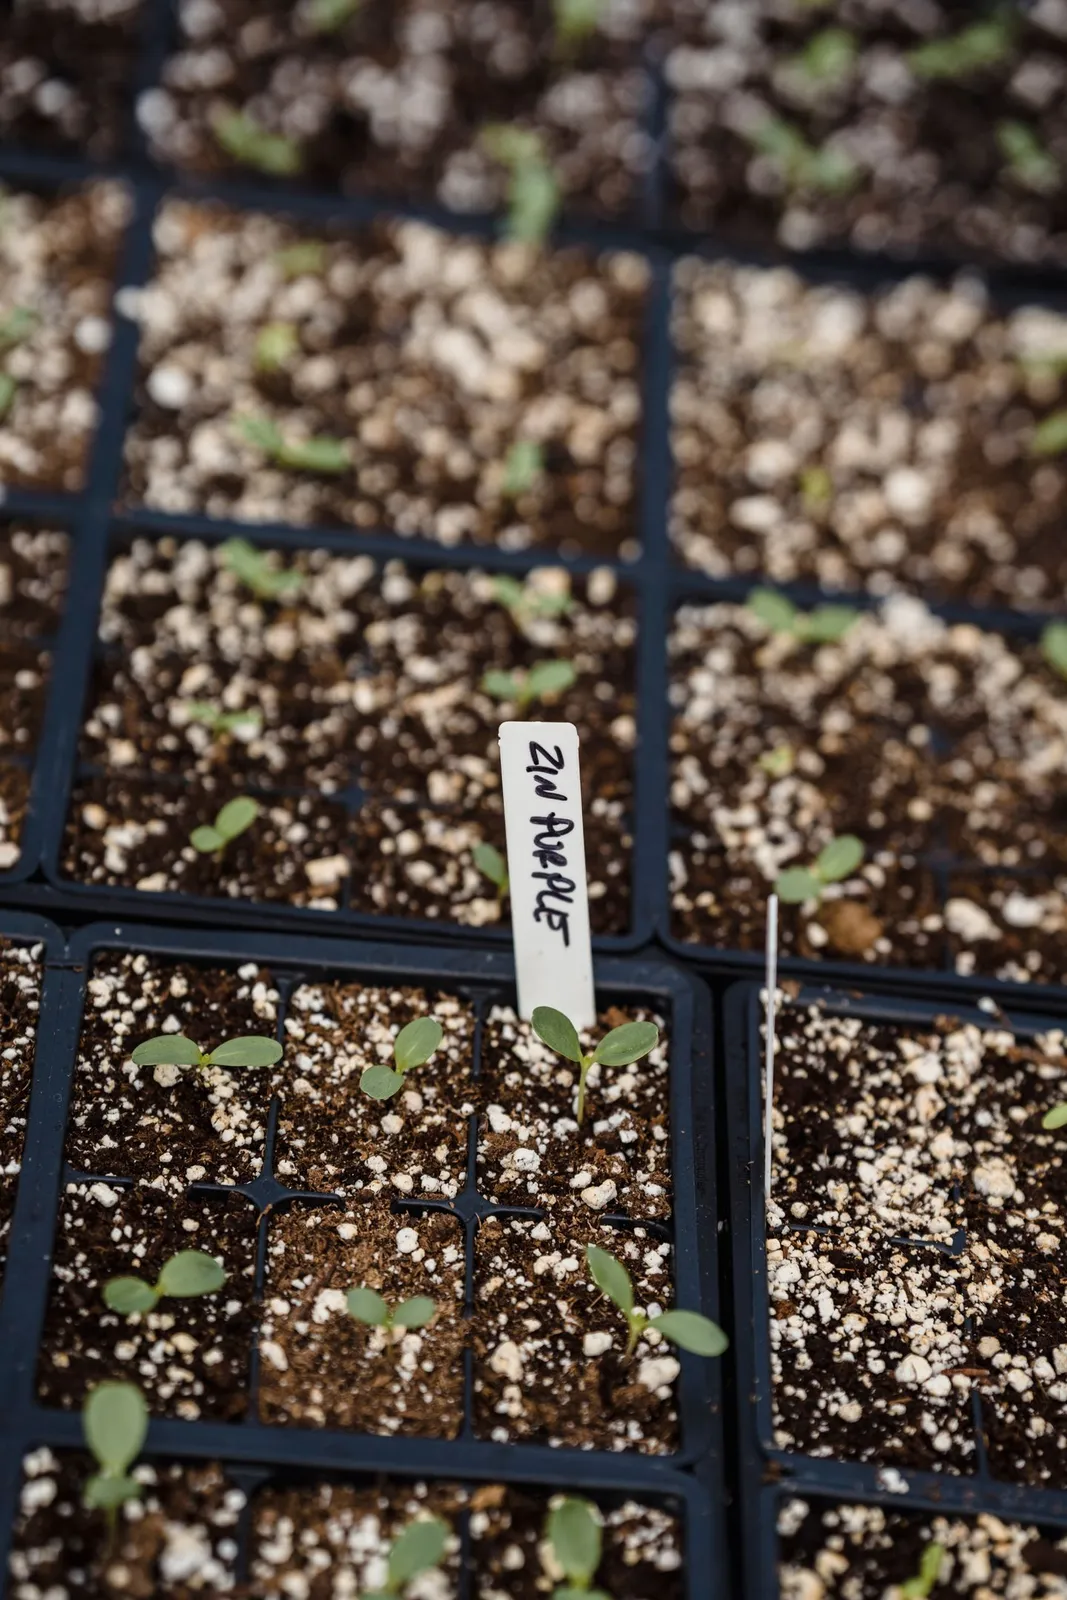
Make reusable plant labels from yoghurt pots
Cut reusable seedling labels from a clean yoghurt pot. Shape smooth markers and test that your writing stays readable after watering.
- Estimated time
- 15 min
- Skill level
- Beginner
Before you start
Pick a flexible plastic pot with a smooth side you can write on. Draw a strip roughly as wide as two lines of writing and long enough to leave the name above the soil. Make one sample before cutting the rest of the pot.
Tools and materials
- Clean flexible yoghurt pot
- Scissors
- Waterproof marker
Step-by-step instructions
Prepare the pot
Wash and dry the container. Pick one with flexible sides that cut without cracking.
Cut the strips
Cut down the side to open the container, then trim away the rim and base. Cut strips wide enough to write on.
Round the corners
Taper one end so it slides into potting mix. Round any sharp corners and discard strips with ragged edges.
Label and place
Write the plant name and sowing date on the smooth face. Let the ink dry, then insert the label at the edge of the pot so it stays visible.
Check the result
Write a test label and let it dry, then wet it briefly and rub it with a finger. Check the writing still reads clearly and that the strip pushes into damp potting mix without buckling.
Troubleshooting
Test the marker on a scrap first. If dried ink smears when damp, use a different marker.